
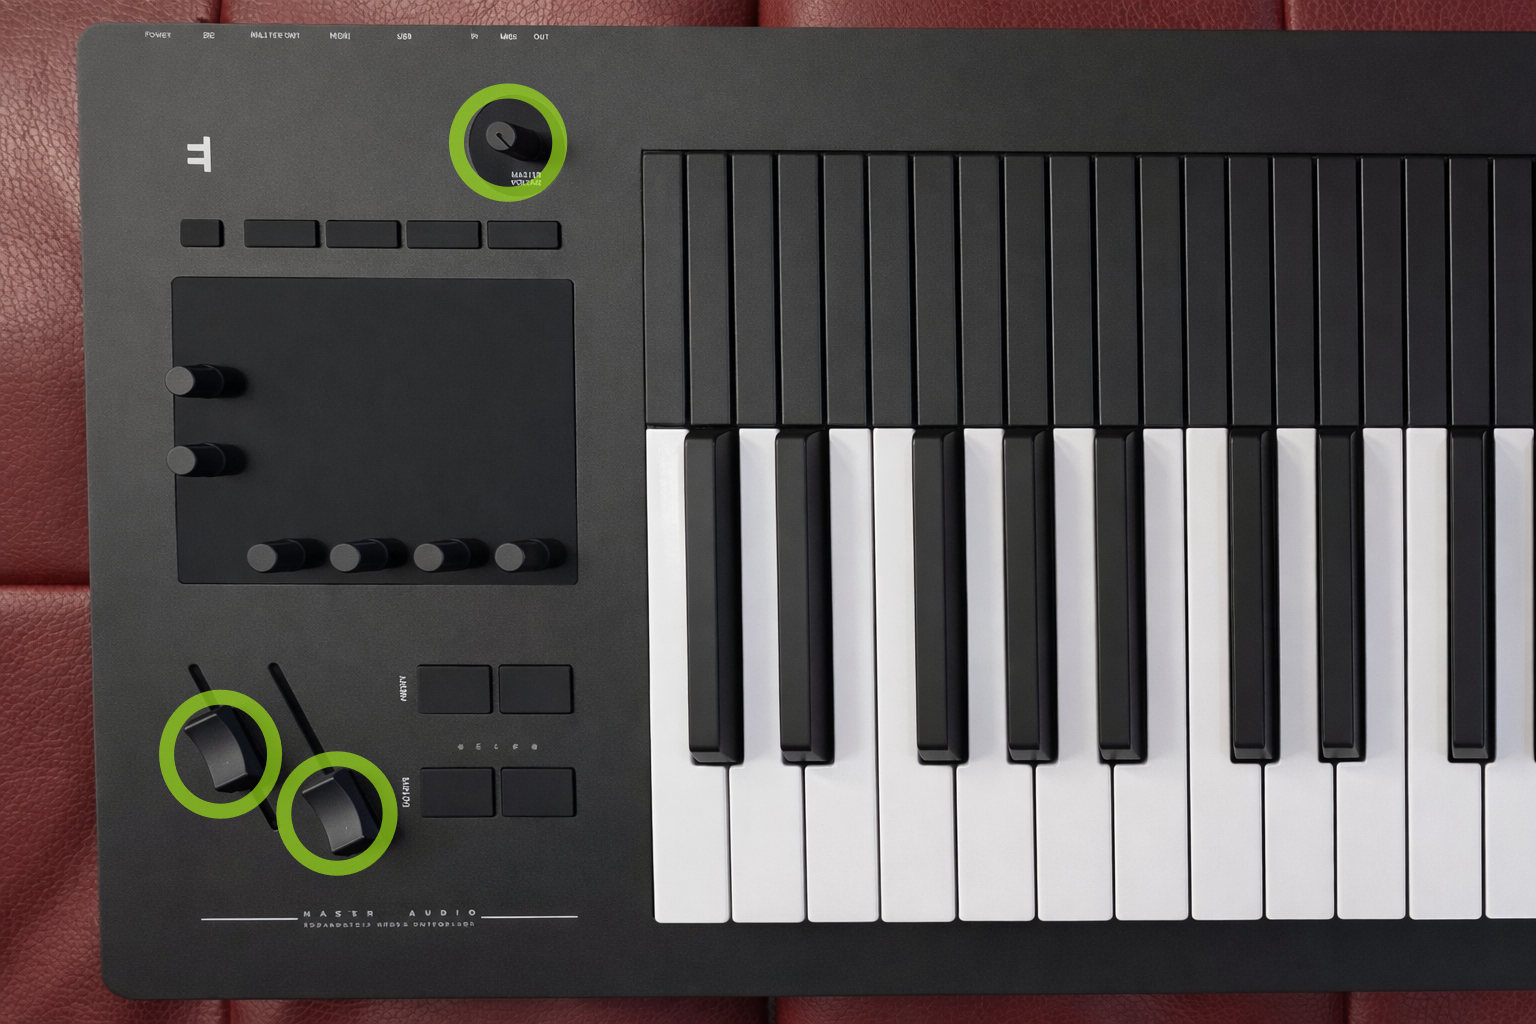
 224
224
Some parts inside Osmose, specifically mechanical ones like the keys, are user-serviceable. For issues affecting only the silicone cylinders beneath the keys, access is available through the maintenance opening beneath each octave. For anything that goes further, here's how to remove the aluminum top plate of an Osmose:
⚠️important precautions⚠️
- Unplug the keyboard as soon as you work on it. More generally, try not to touch the electronic boards, even if the product is not powered on, as electrostatic discharge may occur and cause damage to the circuits.
- When assembling parts with screws, first place all the screws, then tighten them in an X pattern. Do not use unnecessary force to tighten the screws, as it can damage both the screw and the plastic part.
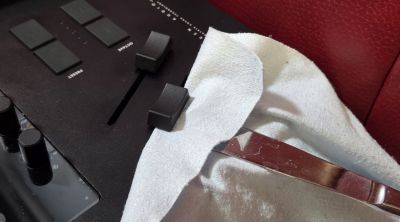
1. Remove the caps of the master volume, mod and pitch sliders
If they don't go off easily, use pliers and a cloth to pull off the master volume cap while avoiding scratches, and a blunt knife or plastic card to pry off the slider caps.

2. Flip Osmose to access the bottom of the keyboard
Be sure to place it carefully on a sofa, bed, or any soft material to avoid damaging the keys. You can also place the outer left and right edges on some books or other blocks so that the keys don't touch the ground at all. Just don't stack too high to make sure the instrument doesn't drop from a high distance.
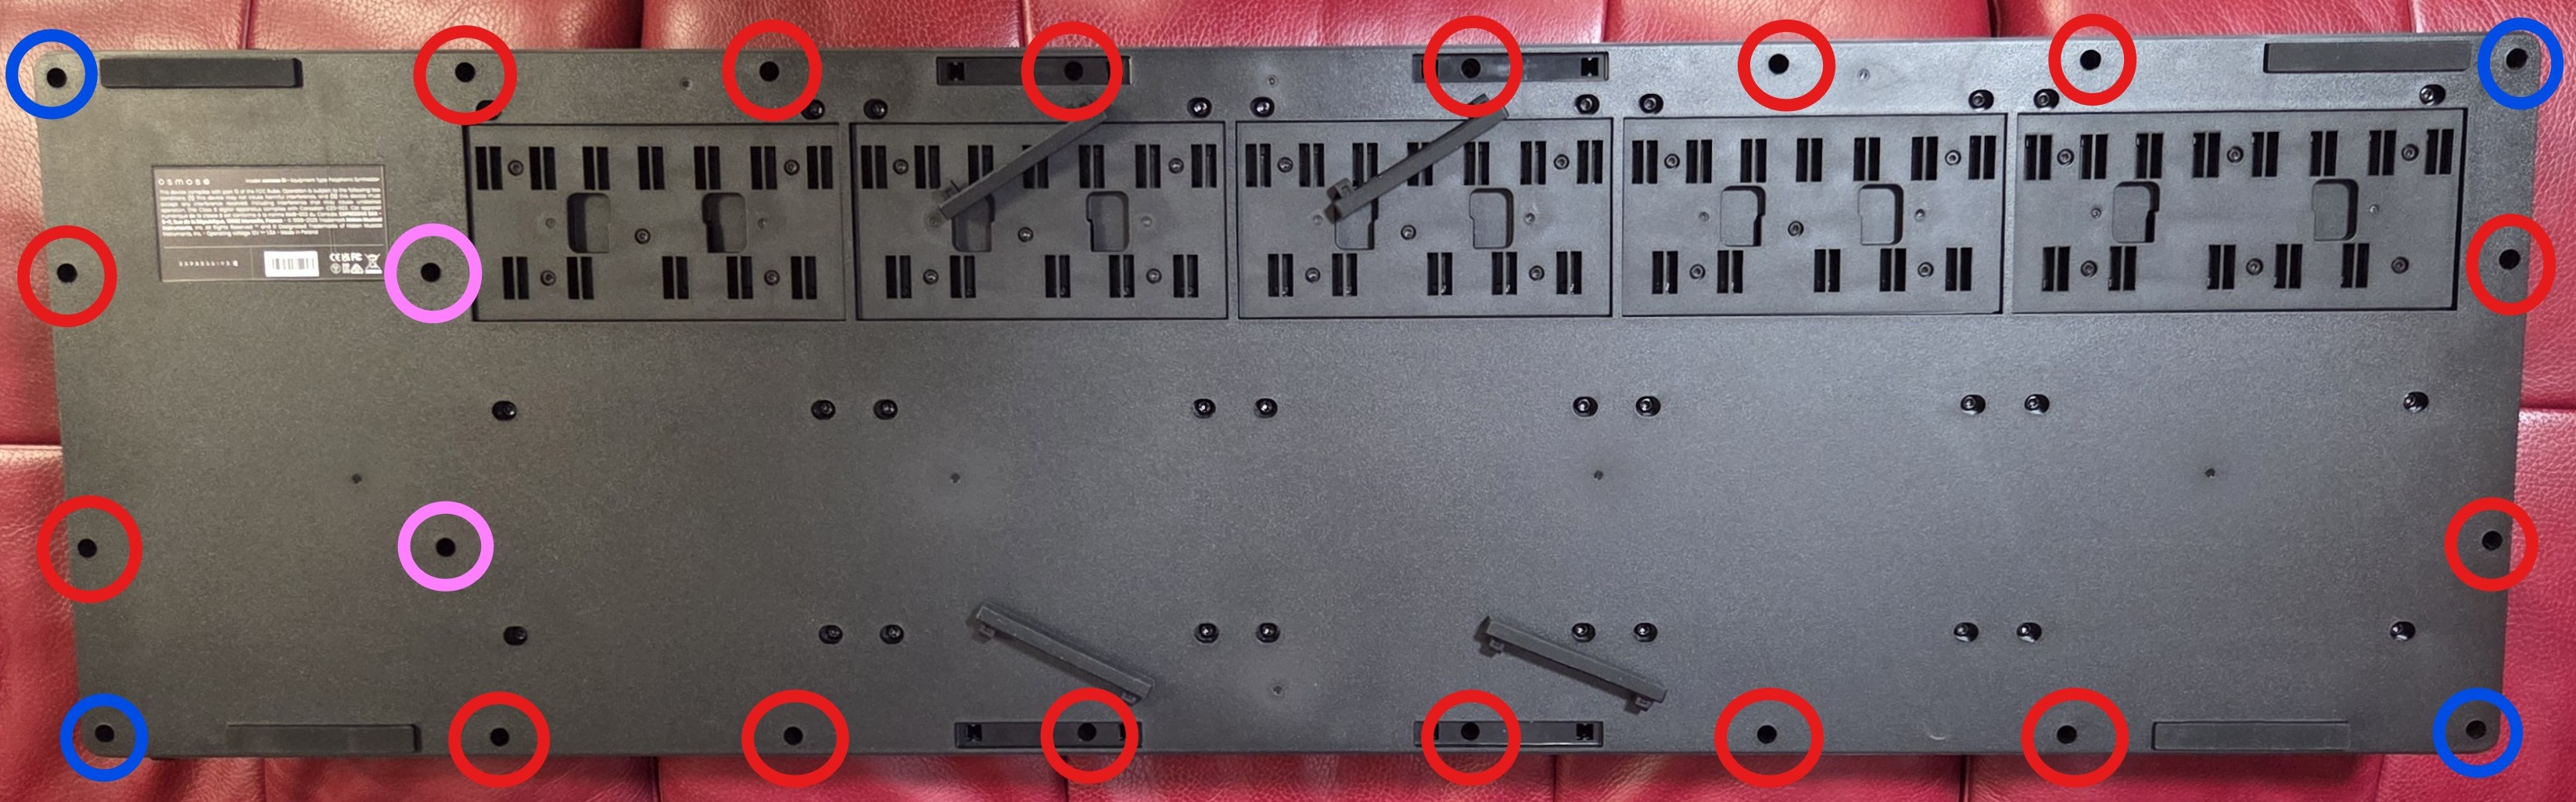
3. Remove the anti-slip rubbers that cover the screws
On an Osmose 49, remove the 6 anti-slip rubbers by pinching and pulling them with your nails or pliers.
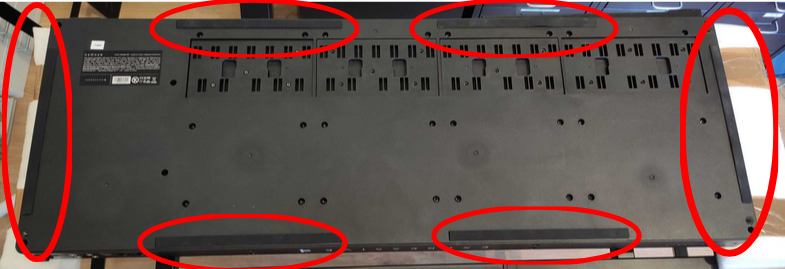
On an Osmose 61, it's enough to remove the four inner anti-slip rubbers at the front and the back of the instruments, while the outer four rubbers can stay in place.
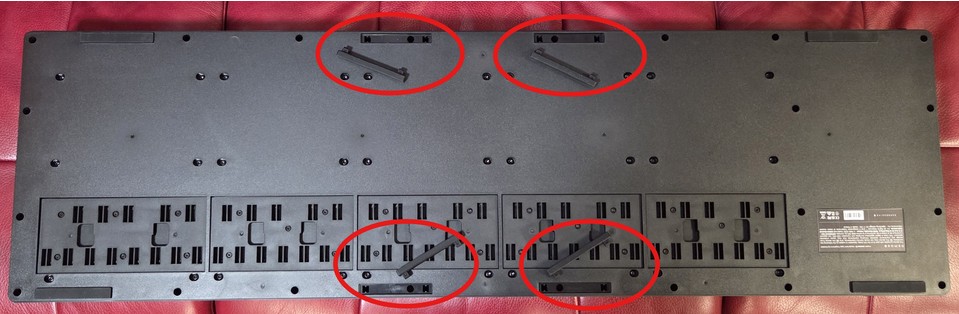
4. Remove the screws that connect the base and the top plate
Using a long Torx size 10 screwdriver, on an Osmose 49, remove the 4 screws located at each corner, the 16 screws along the outer edge under the anti-slip rubber, as well as the extra 2 screws vertically aligned on the left side of the product, between the keybed and the user interface.
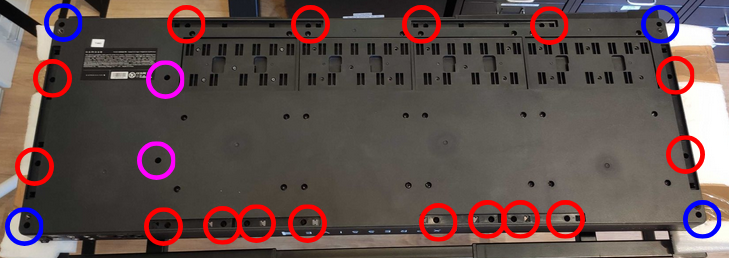
on an Osmose 61, it's the same amount of screws to untighten, but only four are hiding underneath the anti-slip rubbers:
5. Flip the Osmose again and lift off its aluminum top plate

