


The Playing menu gives access to features that use Osmose CE’s continuous expressive controls to expand the creative possibilities of your playing.
After accessing the Playing menu with the fourth Menu button, turn Encoder 1 to choose either Pressure Glide, the expressive arpeggiator, or no playing feature at all.
expressive arpeggiator
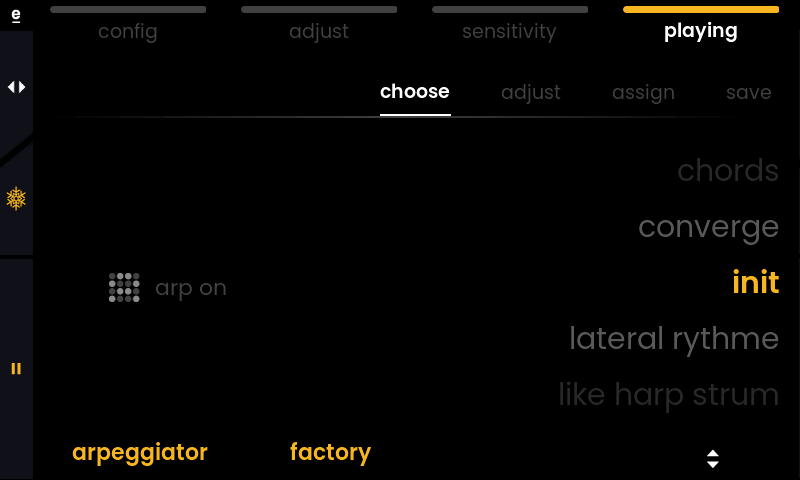
Arpeggiators usually trigger all notes with the same intensity, often resulting in a somewhat mechanical, monotonous sound. Osmose CE’s MPE arpeggiator takes advantage of the fact that the instrument knows the exact position of each key at every given time. When playing the arpeggiator pattern, Osmose CE continues to take into account all three axis motions of the augmented keyboard action keys: Pressure, Aftertouch, and Bending. It means that you can highlight single notes within your arpeggiator sequence just by pressing them differently from the others.
choose tab : load an arpeggiator preset
adjust tab : set the arpeggiator parameters
assign tab : let gestures and controllers modulate arpeggiator parameters
save tab : save the current arp settings as an arp preset
▶️⏸️ You can start or pause the Arpeggiator with a click on Encoder B.
ℹ Since an arpeggiator typically plays monophonic lines that don’t require the ‘polyphonic‘ aspect of MIDI Polyphonic Expression that much. Osmose CE’s arpeggiator can actually sound very lively with non-MPE, legacy instruments as well. Just bear in mind that as soon as notes are overlapping in a non-MPE context, parameters like pitch bend will stay global and affect all sounding notes at once.
ℹ When using the arpeggiator with non-MPE MIDI config presets, MIDI Velocity is derived from the Pressure position of a key: A slightly pressed key will send minimal MIDI velocity and a key that is pressed to the maximum of the Pressure key travel (no need to enter Aftertouch) will send maximum velocity.
ℹ To adapt the velocity values sent by the arpeggiator, you need to change the press curve in the sensitivity menu, not the velocity curve. This controls the velocity of manually triggered keys only.
choose tab
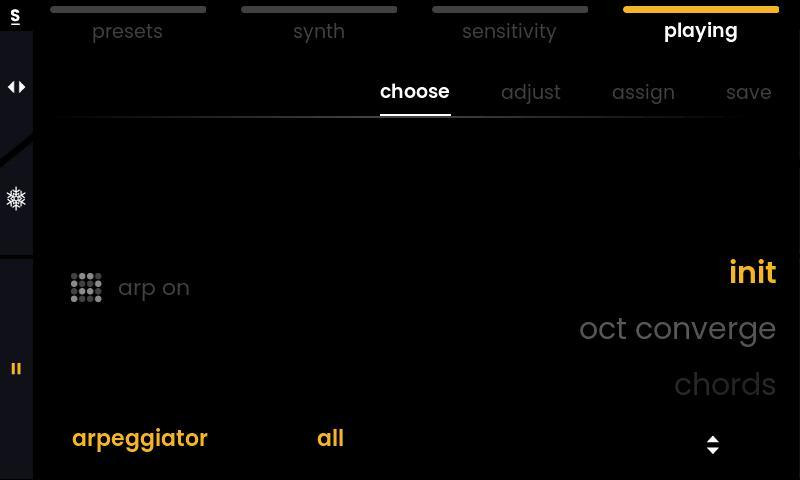
The first tab of the arpeggiator is the 'choose' tab, giving access to the arpeggiator presets. The currently loaded arp preset is highlighted in yellow. Turn Encoder 4 to select another preset. With Encoder 2, you can filter between the factory arp presets and your own user arp presets.
💡 To discover the arp presets and their interactions, we suggest loading a polyphonic flute or brass sound, or another preset with a rather short attack and release. It will be a good start to understanding how your gestures can modulate the arpeggiator.
💡 Press Knob A (❄️) to enable Freeze and keep your current arpeggiator settings when switching between MIDI configuration presets.
adjust tab
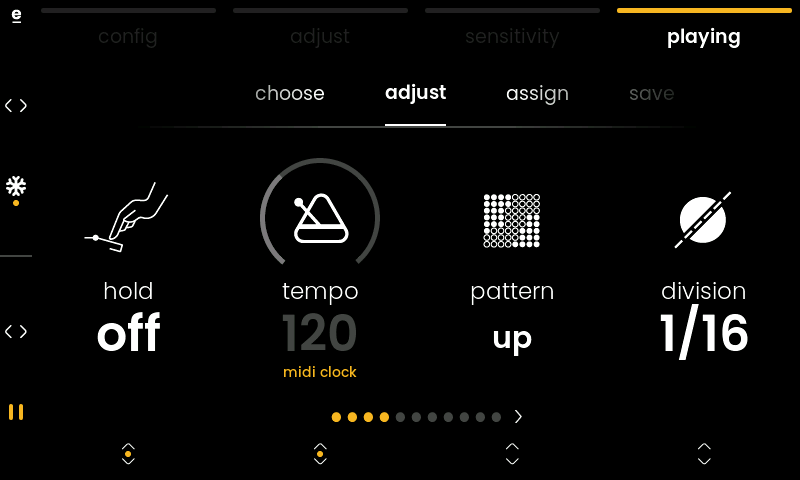
The ‘adjust’ tab contains all the arpeggiator parameters:
hold will ensure the notes you press will continue to be triggered even when you let go of the keys. It will remember the maximum pressure applied per key. The note sequence will only be reset when you have fully released all keys and then press a new key.
tempo defines the beats per minute. Pressing the Value Encoder below will switch between synching to an external MIDI clock and using the internal clock. Attention: Osmose CE is not capable of sending its own internal clock.
pattern lets you choose in which order the notes are played back.
division defines the note value of one arpeggiator step. It selects a division of the tempo that determines the speed at which the notes are played.
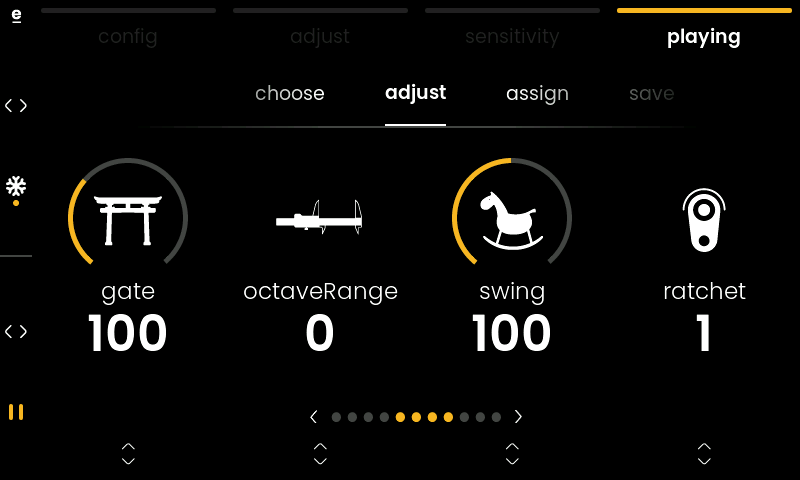
gate determines the length of the notes as a percentage of the duration of one note according to the arpeggio speed.
octave range lets you add multiple octaves above the notes played.
swing allows shifting every second arpeggiator step in time. 100 equals an even playback of all steps. Values above 100 will introduce more and more swing, until, eventually, every second step is joined with the next step.
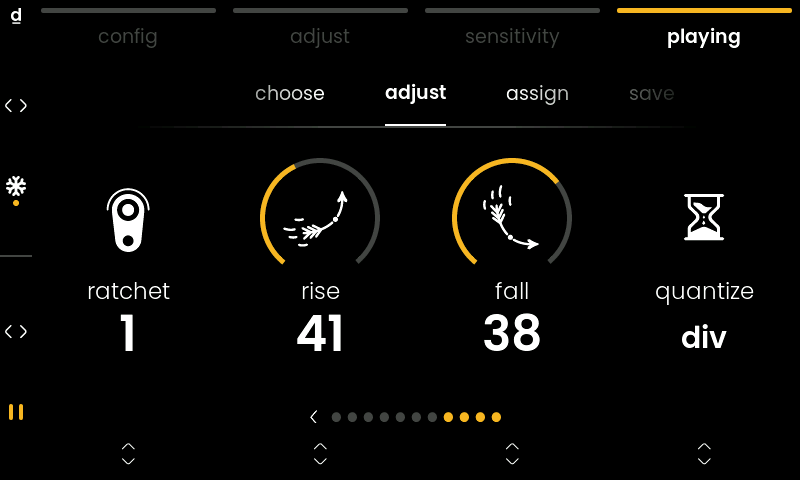
ratchet will introduce multiple triggers during one arpeggiator step.
rise & fall will add some inertia to parameter changes, smoothing out fast increases or decreases in value.
quantize will quantize your notes according to divisions or beats, or turn off.
ℹ When an arpeggiator parameter is controlled by a gesture via a controller (see assign tab), its value will be grayed out and the modulation source appears in yellow below the parameter. In the picture above, aftertouch controls the gate, and press controls the ratchet parameter.
assign tab
The programmed behavior of a sound preset when it comes to Pressure, Aftertouch, and Bending is also kept when using the Arpeggiator: When you bend individual notes, their pitch will continue to change, and if a sound becomes louder and brighter when pressing it further, then the same will also happen when the Arpeggiator is active.
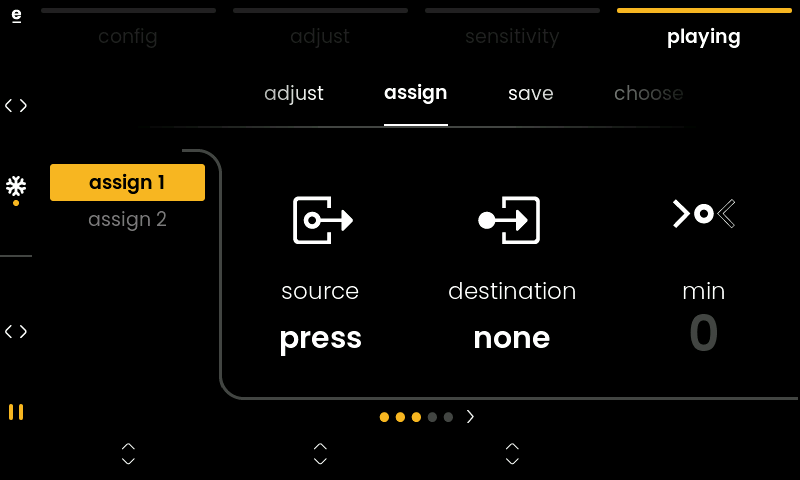
Additionally, the way you press individual notes on the keybed can influence the arpeggiator parameters for that specific note. The ‘assign’ tab lets you set up the parameter mapping for this. Two ‘assign’ slots are available with the following set of parameters:
source selects a motion axis of the key or a controller that will affect the destination parameter. Here, bending to the left and bending to the right are available as separate sources. When using the mod slider or expression pedals as modulation sources, parameter changes will be global (not per-note).
destination selects the arpeggiator parameter that will be modulated. This includes all parameters listed in the adjust tab.
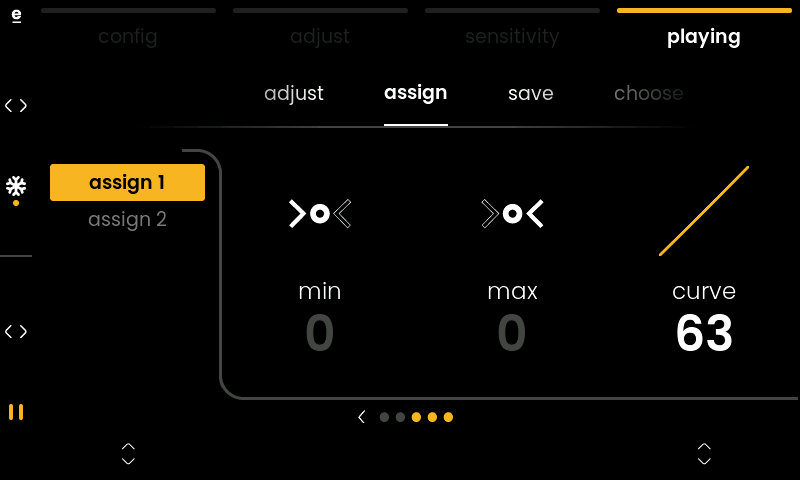
min sets the minimum value sent.
max sets the maximum value sent.
curve changes how resulting values are distributed when the source value goes from min to max. A linear response means values have equal ranges along the curve. If min is set to 1 and max is set to 2, then 2 is already selected when the source control is at 51% (MIDI value 64).
save tab
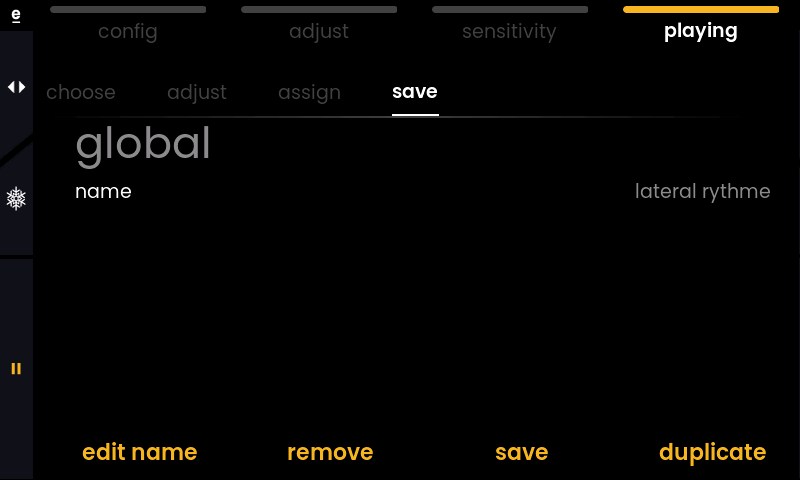
The ‘save’ tab of the MPE arpeggiator allows you to save the current settings of the arpeggiator as an arpeggiator preset that will then show up in the choose tab.
To give your arpeggiator a custom name, press Encoder 1 while the line ‘name’ is selected. Scroll through characters by turning the same encoder. Turn Encoder 2 to move the cursor. Once you’re done, validate by pressing Encoder 4.
You can delete an arpeggiator preset by clicking Encoder 2 below ‘remove‘ and confirming it.
pressure glide
The Pressure Glide feature lets you define a pitch interval within which two key presses are interpreted as a legato line instead of polyphonic playing.
Unlike regular portamento, which makes the pitch glide to a new note within a fixed amount of portamento time, Pressure Glide reacts to the pressure ratio between the two notes. The pitch will dynamically glide between the notes in real-time, reacting to how you distribute pressure between them. You will need to release the first note completely to make the pitch arrive at the second note.
Feel free to watch the dedicated section on Pressure Glide in Osmose’s quick start video to better understand how Pressure Glide works.
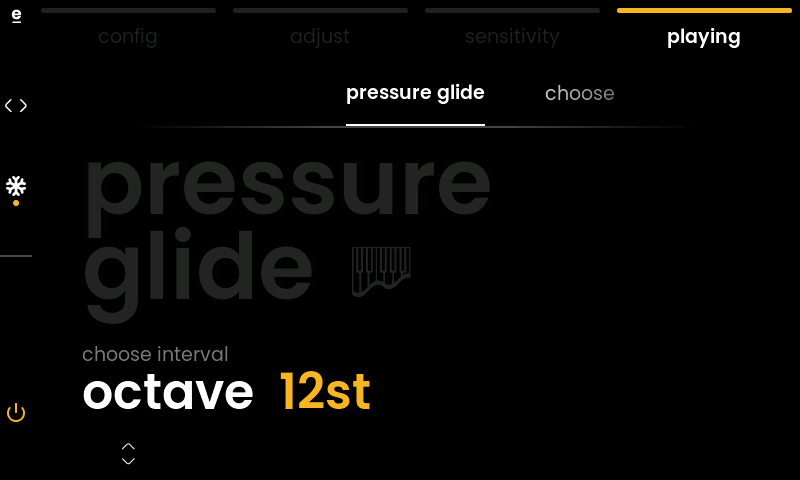
ℹ Important note: when intending to play chords with Pressure Glide activated:
Two notes pressed simultaneously within the interval that you have set will always be joined into one pitch. For instance, with a pressure glide interval of 2 semitones, you can play chords with stacked thirds or wider voicings, but as soon as you play seconds, you will end up with one note with an averaged pitch instead of two discrete notes.
ℹ When Osmose CE is in DAW Control mode and Pressure Glide is selected in the playing menu, you can activate or deactivate Pressure Glide via the bottom action bar. In DAW Control Mode, press and hold the Mode button to open the bottom action bar and push Encoder 3.

