163
163
Some parts inside Osmose CE, specifically mechanical ones like the keys, are user-serviceable. For issues affecting only the silicone cylinders beneath the keys, access is available through the maintenance opening beneath each octave. For anything that goes further, here's how to remove the aluminum top plate of an Osmose:
⚠️important precaution⚠️
Unplug the keyboard as soon as you work on it. More generally, try not to touch the electronic boards, even if the product is not powered on, as electrostatic discharge may occur and cause damage to the circuits.
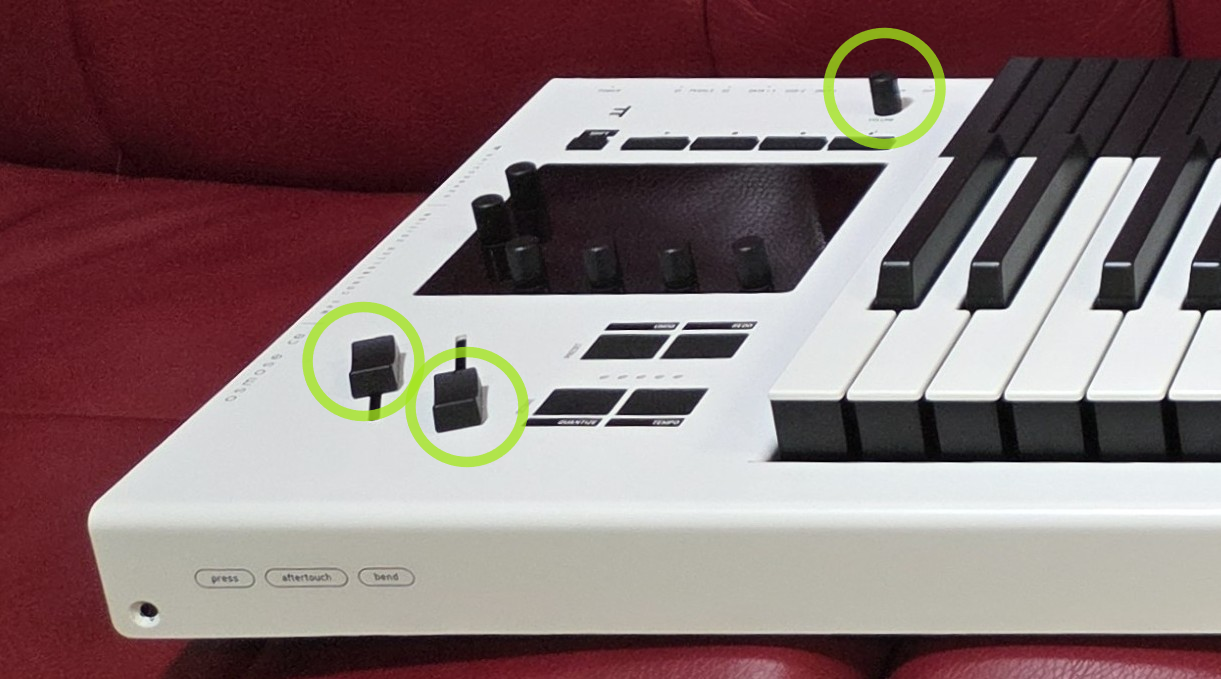
1. Remove the caps of the master volume, mod and pitch sliders
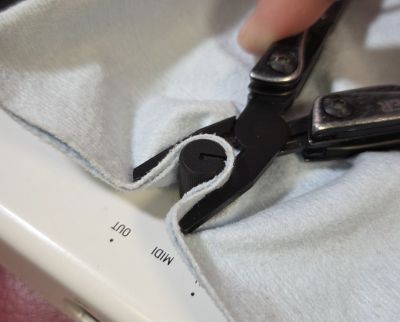
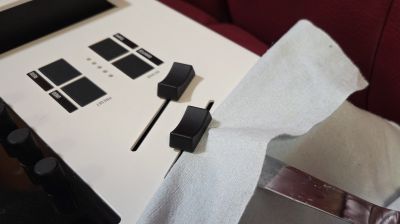
If they don't go off easily, use pliers and a cloth to pull off the master volume cap while avoiding scratches, and a blunt knife or plastic card to pry off the slider caps.
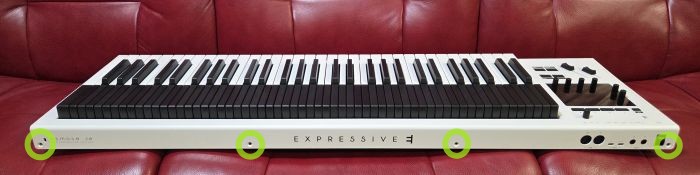
2. Remove the screws that connect the base and the top plate
Using a Torx size 20 screwdriver, remove the 4 screws on the front and the 4 screws on the back.

3. Lift off the aluminum top plate
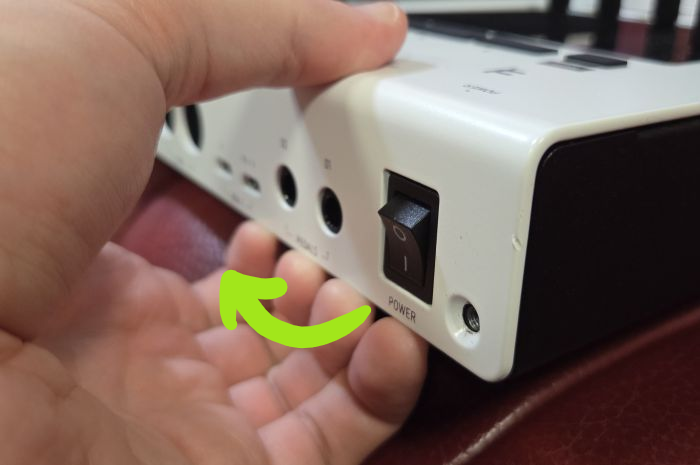
You will need to pull and bend the top plate at the rear-left end so it can overcome the rim of the power switch and the ports. It's expected that the protruding power switch will be flipped while removing the top plate.